Get Started
- Access the BoxPay Dashboard
- Ensure you have the necessary access to the BoxPay Dashboard.
- If you don’t have access, contact your admin or the BoxPay Support Team to get it set up.
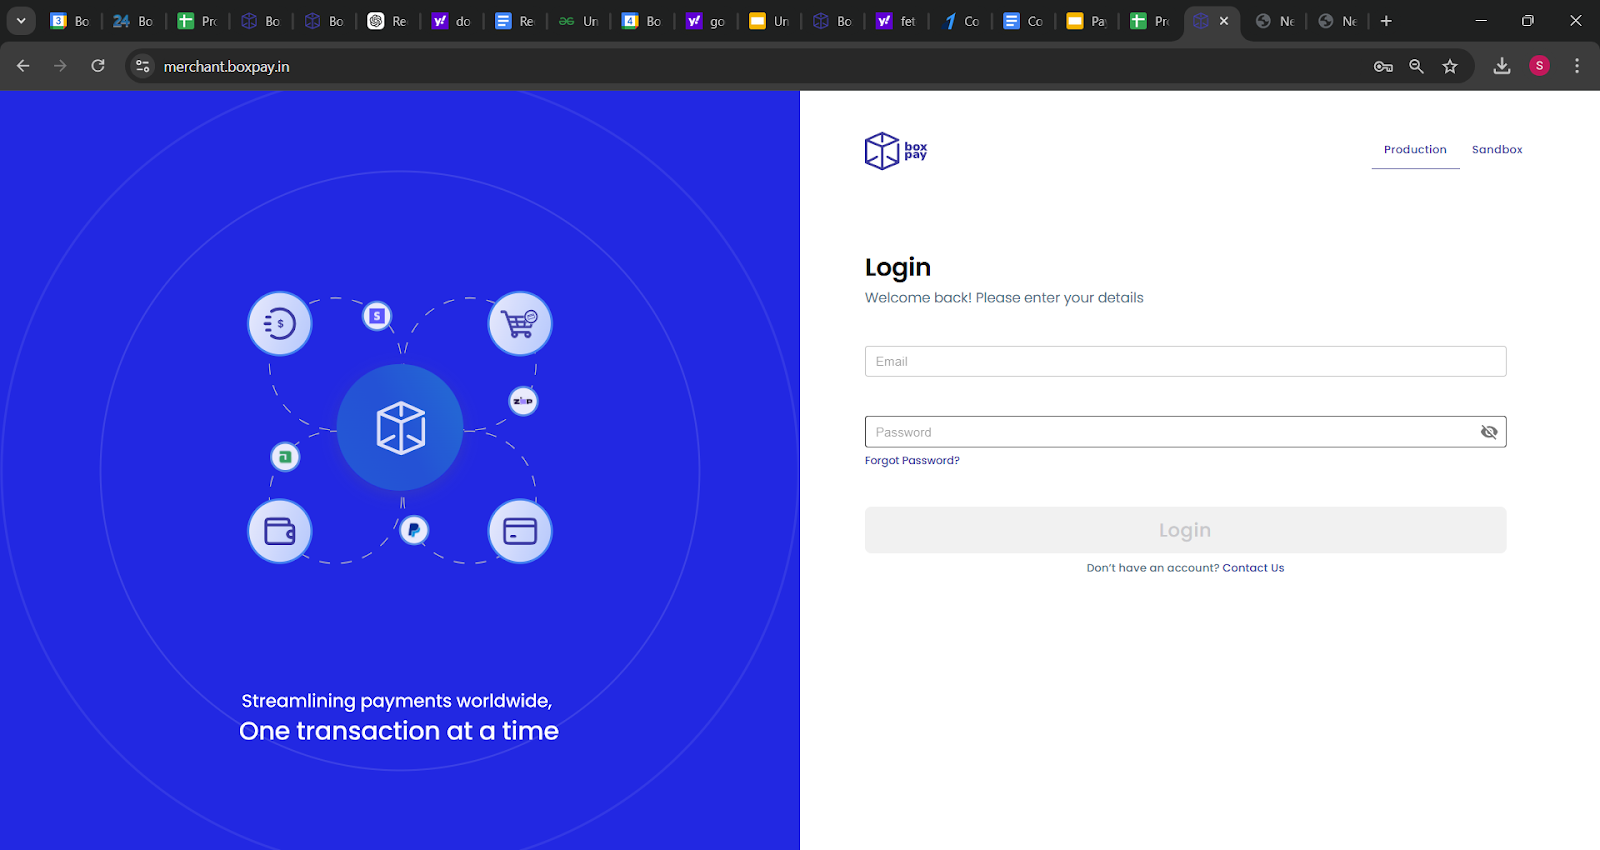
- Login to Your Account
- Having Issues Logging In?
- If you’ve forgotten your password, click on Forgot Password to reset it.
- If you don’t receive the OTP or face any other login issues, contact BoxPay Support for assistance.
Glossary
- Master File: The Master File is the MIS file uploaded by the merchant.
- Insurer Statement: The Insurer’s Statement is the file provided by the insurer containing all the insurer records.
Upload File Section – Status & Definitions
| Status | Definition |
| UPLOADING | The file is currently being uploaded to the system. |
| UPLOADING_FAILED | The file upload process failed due to an error. The error will be shown in the information icon next to the status |
| UPLOADED | The file has been successfully uploaded. |
| TRANSFORMING | The uploaded file is being converted into a format that the system can read. |
| TRANSFORMING_FAILED | The file could not be converted into a system readable format due to an error. |
| TRANSFORMED | The file has been successfully converted into a system readable format. |
| PROCESSING | The records in the uploaded file are being synchronised with the system. |
| PROCESSING_FAILED | The synchronisation of records in the file failed due to an error. |
| PROCESSED | The records in the file have been successfully synchronized. |
| REVERTING | The system is rolling back the file, undoing the changes it introduced. |
| REVERTING_FAILED | The rollback process for the file has failed. |
| REVERTED | The file has been successfully rolled back. |
Generate Report Section – Status & Definitions
| Status | Definition |
| PENDING | Report is being generated. |
| COMPLETED | Report generation is completed. |
| FAILED | Report generation failed due to an error. |
Report Types
| Type | Definition |
| Settled | Both Policy No. & Commission Amount are matched. |
| In Process – Deficit | Commission Amount is less in Insurer File compared to Master File |
| In Process – Surplus | Commission Amount is more in Insurer File compared to Master File |
| Foreign | Policy No. is present in Insurer File but not found in Master File |
| Open | Policy No. is present in Master File but not found in Insurer File |
| All | All report types are consolidated in a single report. |
Upload File Section
Step 1: Upload the Master File
- Upload File:
- Log in to your merchant dashboard.
- Navigate to the Reconciliation Section and Click on the Upload File section in the nav bar.
- Click on the Upload Master File button and select the file from your system.
- Supported File Format – .xlsb, .xlsx
- Wait for Processing: The system will process the Master File after uploading. This might take a few minutes, depending on the file size.
⚠️Note: While the Master File is being processed, the user won’t be able to upload the Insurer File. Please wait until processing is complete.
Once the Master File has been successfully processed, the status in the table will change to PROCESSED. Proceed to the next step after this confirmation.
Note: Under the Invalid Records tab in the table, the merchant can download the file for unprocessed records due to duplicates or missing policy numbers.


Step 2: Upload the Insurer File
Once your Master File has been successfully processed, follow these steps to upload the Insurer File:
- Select the Insurer:
- Click on the Upload Insurer File button.
- From the Select Insurer dropdown menu, choose the Insurer for which you want to upload the file.
- From the Select Month dropdown menu, choose the Month for which you want to upload the file.
- Upload the File:
- Click on the Upload button.
- Select the Insurer File from your system and confirm the upload.


Important Guidelines for the Upload File Section:
- Prepare File
- Ensure the file is in its raw format – this means it should be cleaned and unprocessed.
- Note: No Additional Headers should be added to the file.
- Changes to Status Definitions
- If you wish to modify the definitions of statuses or introduce new ones, these changes will not apply to existing data. They will only be effective for new data uploaded after the change.
- Please raise a support ticket with the BoxPay Team for any such changes.
- Note: BoxPay team will analyze your request within 2-3 business days and provide the expected timeline for the change.
- ⚠️ Avoid Uploading Similar Files
- Uploading two files containing the same or overlapping data will result in the files being merged.
- If you need to replace an old file, Revert the original file before uploading the new one to avoid errors.
- Insurer Column Consistency in the Master File
- Ensure the values under the Insurer Column in your Master File are consistent. Spelling and naming must not vary across entries for the same insurer.
- If required, you can add new insurers to the list, but existing insurer names must remain consistent.
- The Rollback feature to revert a file is available only when the file status is PROCESSED, PROCESSING_FAILED, or REVERTING_FAILED.
Generate Report Section
Step 1: Go to the Reconciliation Section
- Navigate to the Reconciliation section in the nav bar.
- Under this section, click on Generate Report.
Step 2: Select Report Type, Insurer, and Timeline
- Choose the type of report you want to generate.
- Select the relevant insurer for the report.
- Choose the timeline for the period you want to generate the report.
Step 3: Download the Report
- After generating the report, the system will process it.
- Once the status changes to COMPLETED, you can download the file to view the detailed report.

