BoxPay iOS SDK enables swift creation of a payment process within your iOS application. We offer robust and adaptable UI components ready for immediate use, allowing you to effortlessly accept payments from your shoppers.
To begin integrating with the BoxPay Checkout, the initial step is to register and setup your BoxPay account.
This outlines the typical workflow for integrating a BoxPay iOS checkout SDK –
- The shopper taps on the Buy/Pay button on the Merchant App.
- The Merchant Server processes the request and initiates a checkout session through the Create Checkout Session API.
- The Merchant Server receives the BoxPay Checkout token in the response and returns it back to Merchant App.
- Merchant App initiates the BoxPay payment flow by invoking Checkout SDK. Please refer to the iOS Checkout SDK Integration Steps section for more details around it.
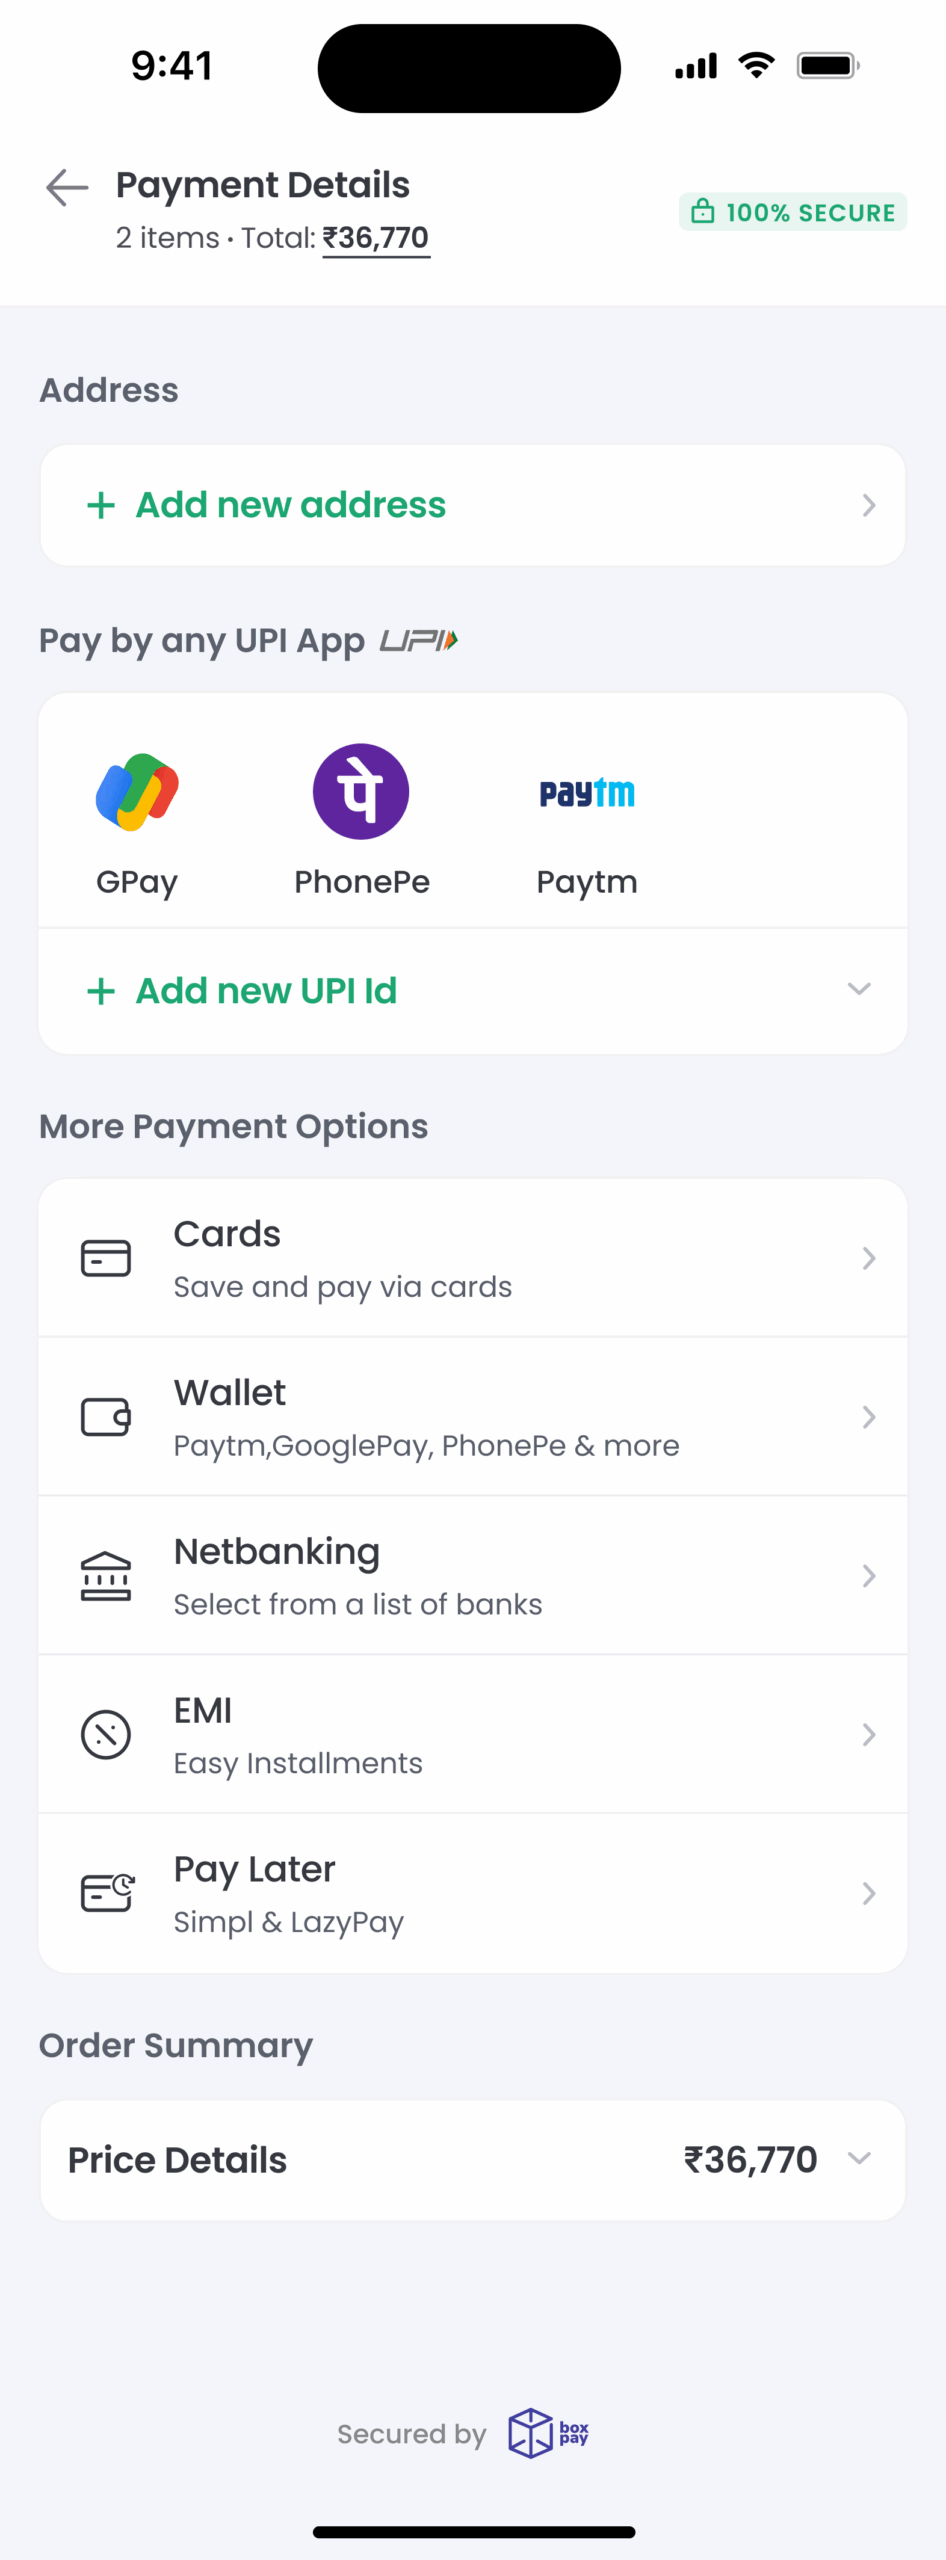
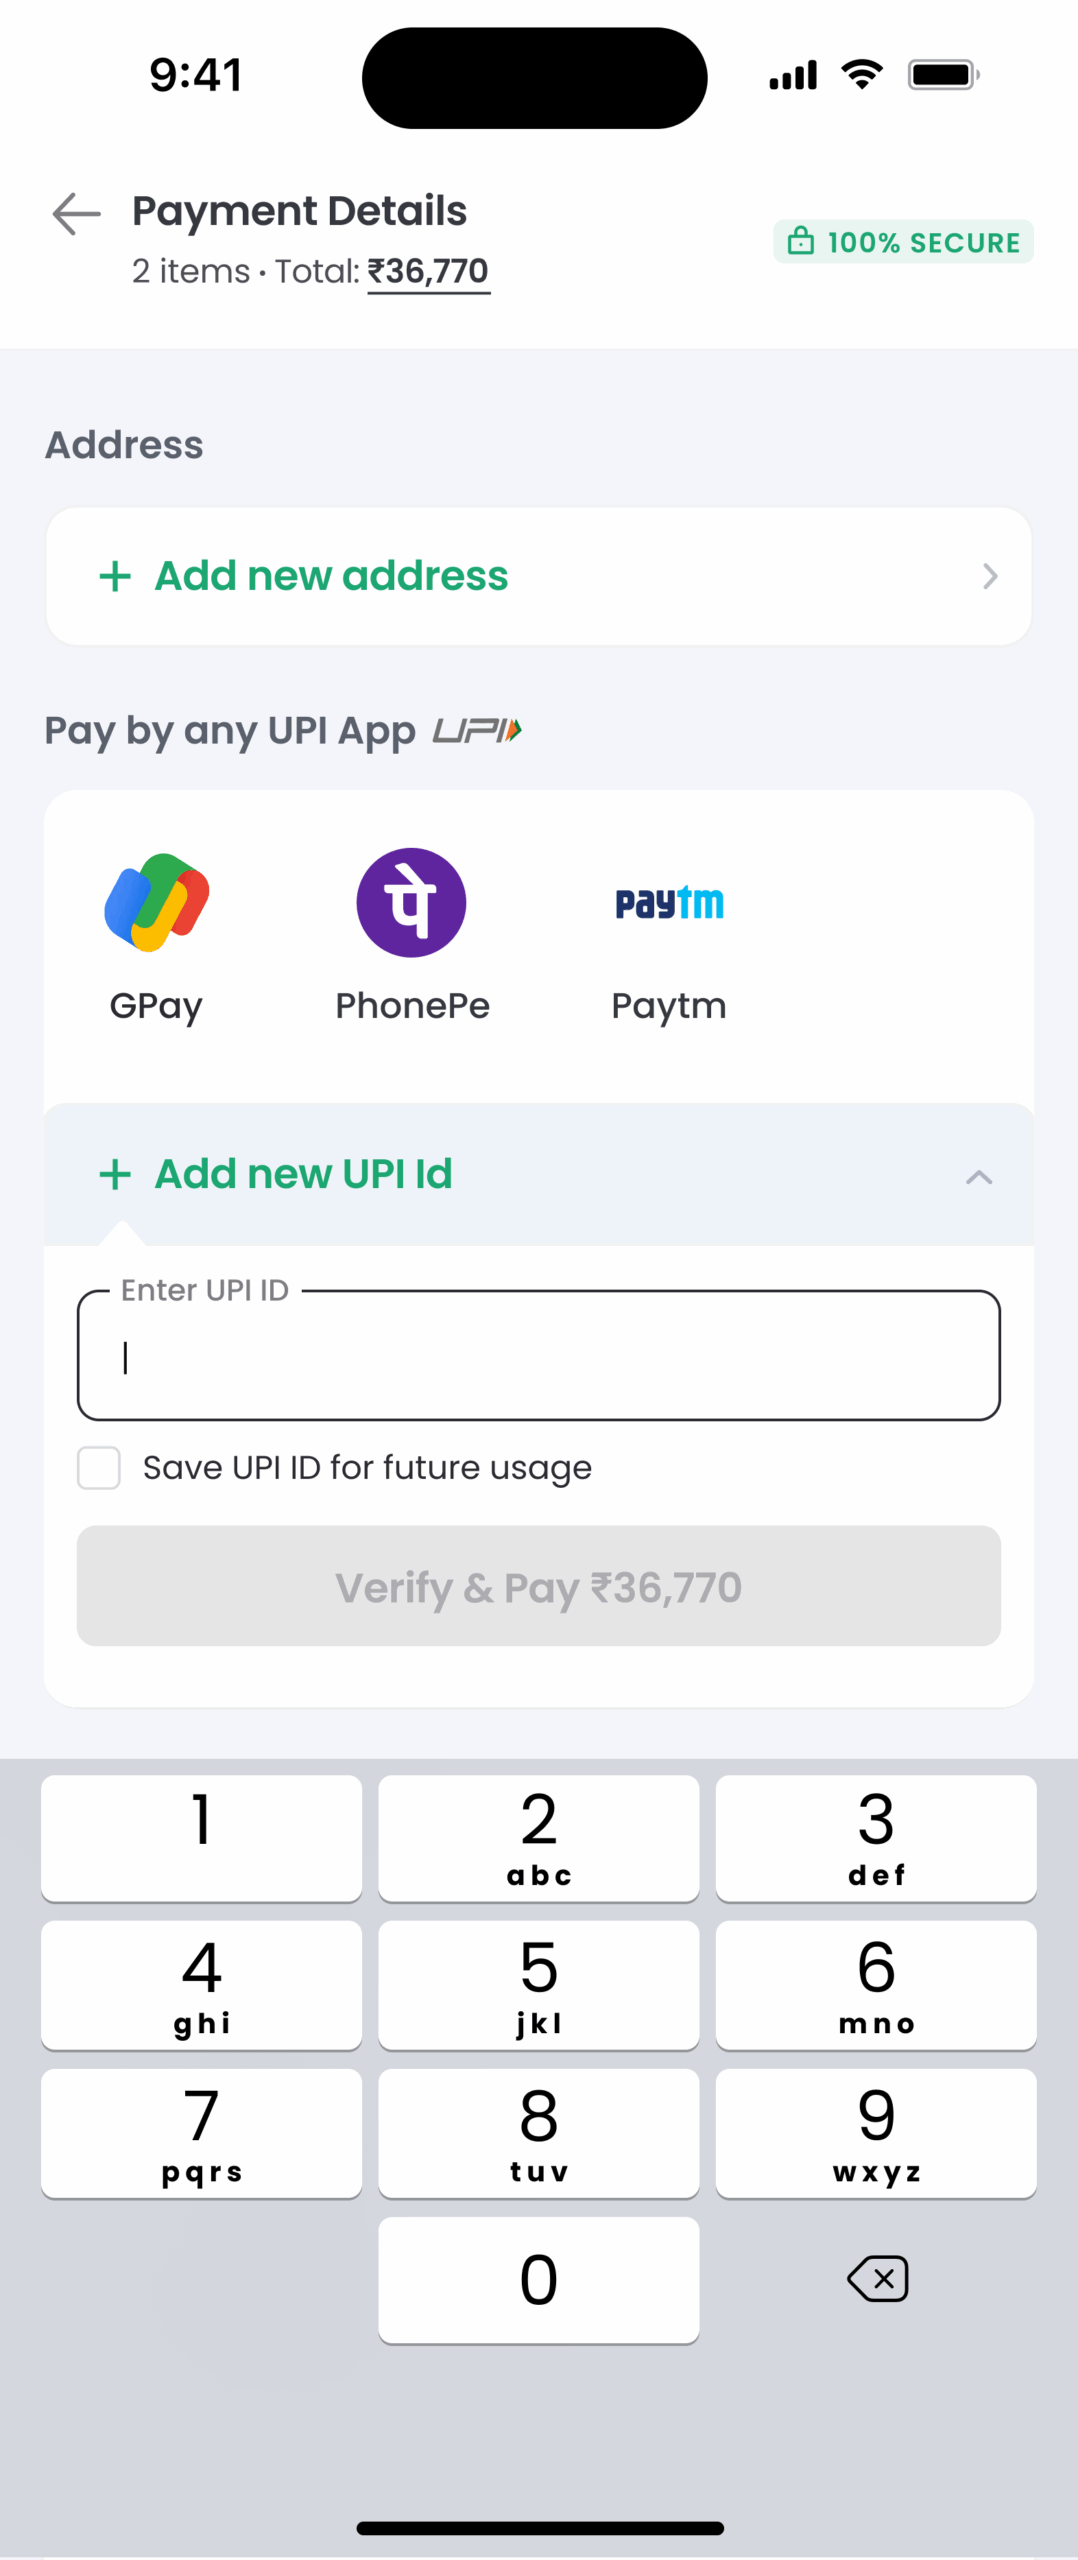
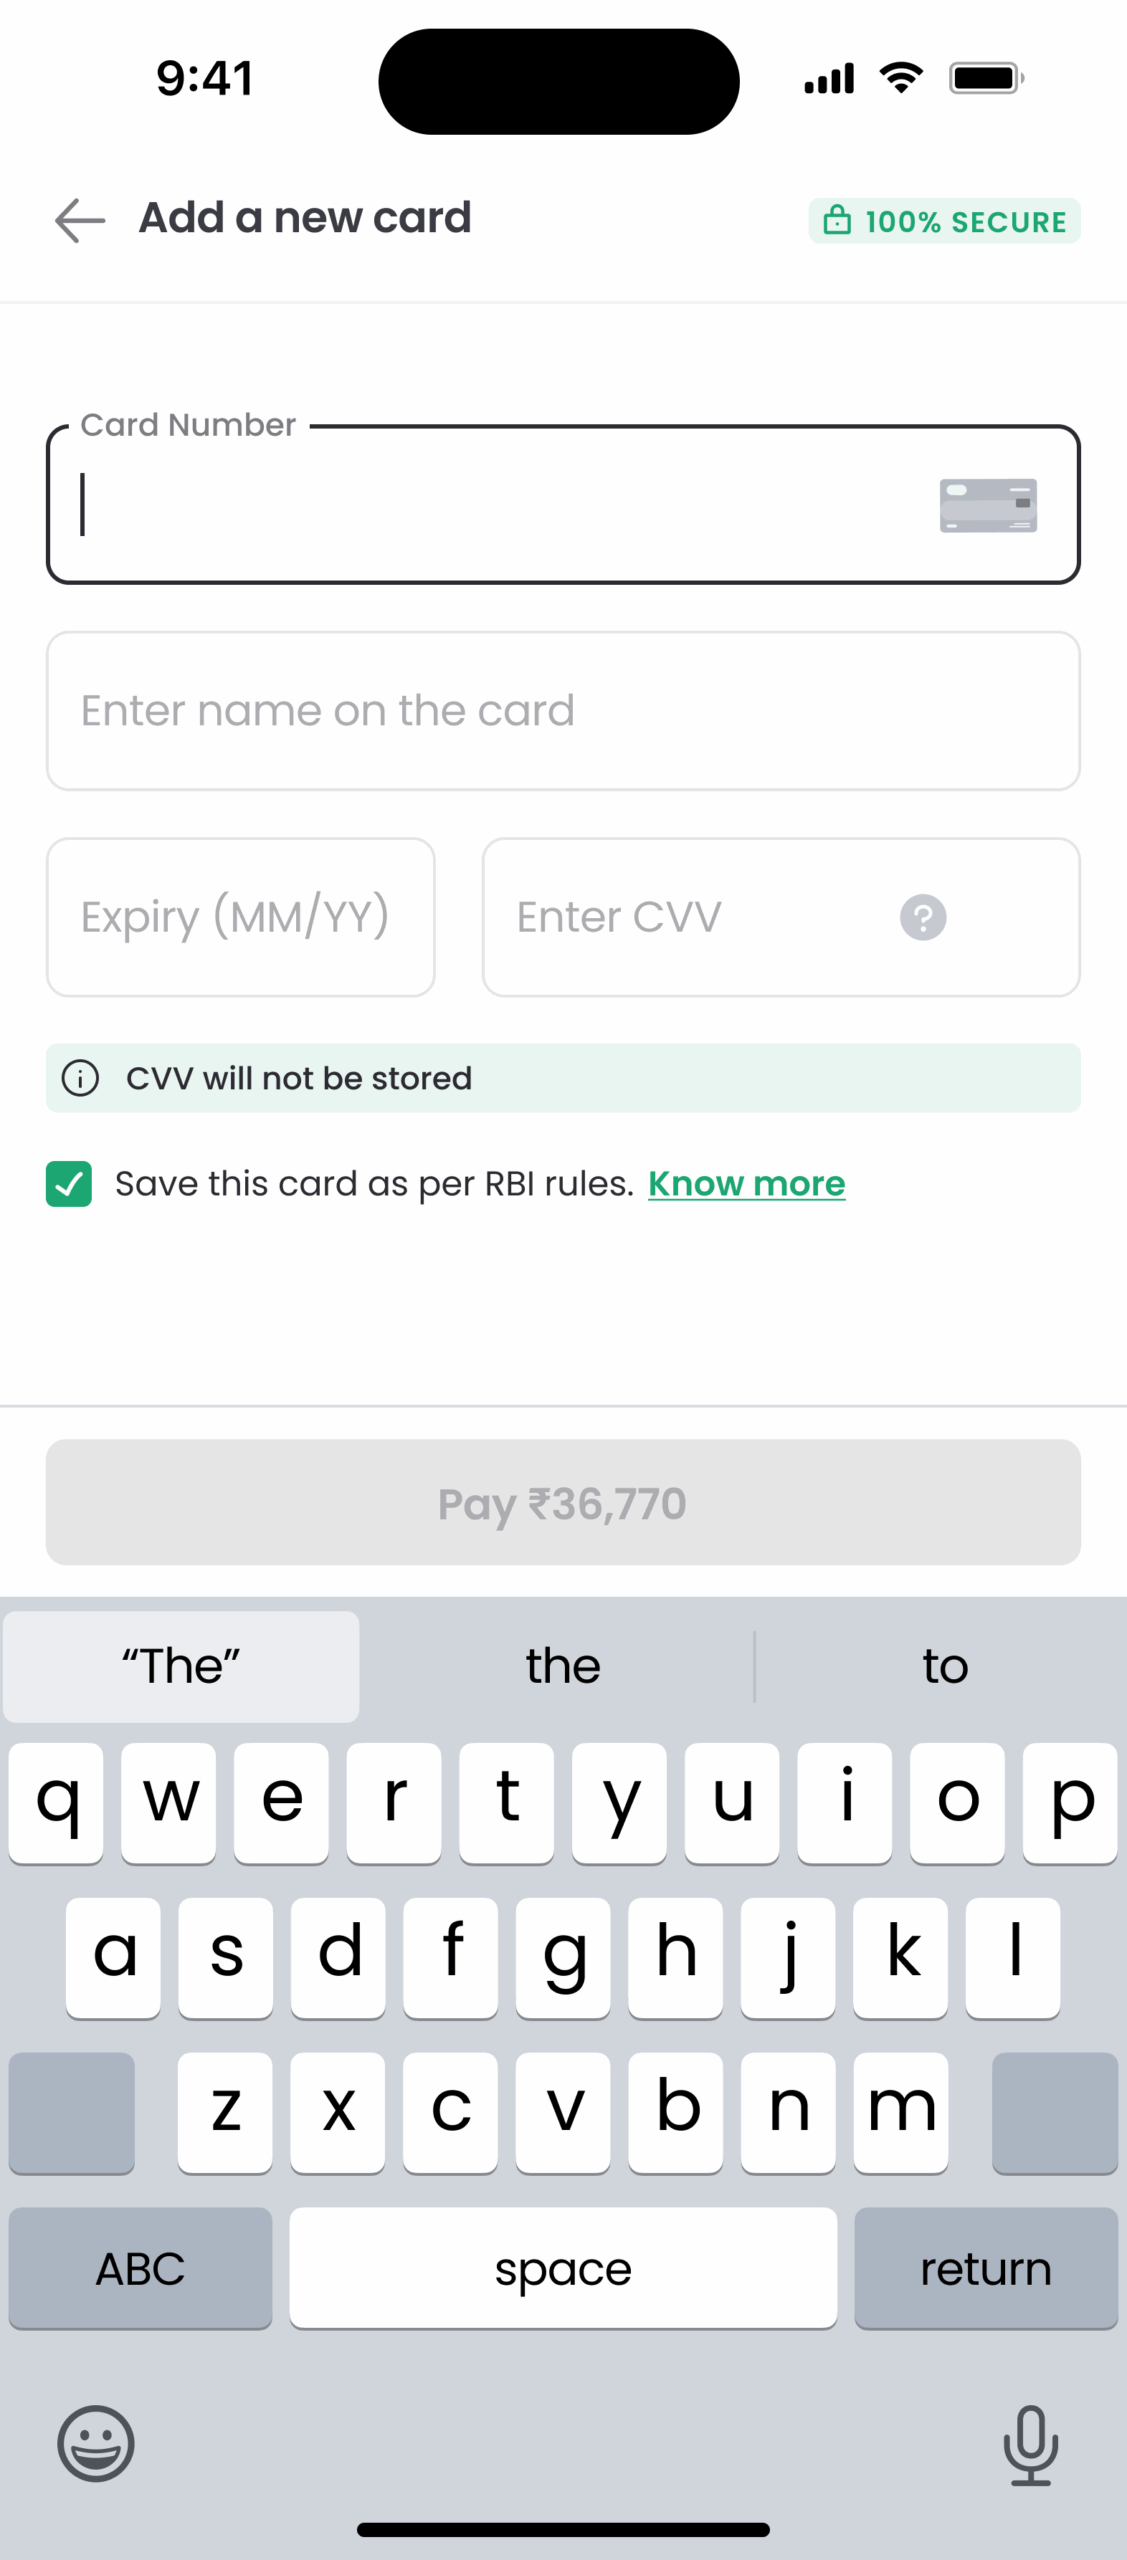
- The shopper completes the payment on the BoxPay Payment Sheet.
- After payment, BoxPay calls the result callback method with the payment status.
- Depending on the payment status received, the Merchant App redirects the customer to either the Order Confirmation page, or to the payment failed/canceled page.
iOS Checkout SDK Integration Steps
1. Add SDK dependency
Next step is to add the SDK dependency in your package dependencies to access the SDK classes in your App –
// Latest version is 1.0.0
1. Open your project in Xcode.
2. Go to File → Add Packages…
3. Enter the Boxpay Checkout SDK URL:- https://github.com/BoxPay-SDKs/checkout-ios-sdk
4. Choose Exact Version or Up to Next Major.
5. Click Add Package.
2. Add required permissions
Please make sure that following scheme queries need to be added in Info.plist to ensure seamless working of UPI Intent –
<key>LSApplicationQueriesSchemes</key>
<array>
    <string>gpay</string>
    <string>tez</string>
    <string>paytmmp</string>
    <string>phonepe</string>
    <string>upi</string>
</array>
3. Initiate the SDK payment flow
In order to initiate the payment flow, you need to create a checkout session from your server endpoint. Additionally, you need to pass the payment result callback function to get notified when the payment is either successful or cancelled by the user. In case of failures, we prompt user to retry in the BoxPay payment sheet itself.
Finally, you can initiate the payments flow using the SDK classes as shown below –
import BoxPayiOSCheckoutSDK

struct CheckoutScreen : View {

    // Call your server API that will in-turn call the BoxPay create checkout session api to get the checkout token;
    var checkoutToken: String = ""

    //From the same api call in payload response shopper_token will be received. This field is **optional**. You can pass `nil` or an empty string ("") if you don't want to provide the shopper token.
    var shopperToken : String? = nil

    var body: some View {
        VStack {
            BoxpayCheckout(
                token: checkoutToken,
                shopperToken: shopperToken,
                configurationOptions: [
                    // Flag to control whether BoxPay Sandbox/test env should be used. It is primarily available for testing purposes. Default value is set to false meaning prod environment will be used to process the payments.
                    ConfigurationOption.enableTextEnv : true,

                    // Flag to control whether BoxPay Success screen should be displayed before executing the callback. It enables merchants to control whether they want to leverage their own success screens. Default value is false meaning merchants should navigate shoppers to their success screen on successful payments.
                    ConfigurationOption.showBoxpaySuccessScreen : true,

                    // Flag to control whether UPI QR should be loaded by default. Default value is set to false to ensure maximum success rate as enabling this flag will result into transactions even though shopper doesn't make UPI payments.
                    ConfigurationOption.showUPIQROnLoad : true
                ],
                onPaymentResult: onPaymentResult
            )

            /* If you don't want to pass anything in configurationOptions then simply pass as null and at that time it will be enableTextEnv as false, showUPIQROnLoad as false and showBoxpaySuccessScreen as false by default -
            BoxpayCheckout(
                token: token,
                shopperToken: shopperToken,
                configurationOptions: nil,
                onPaymentResult: onPaymentResult
            )*/
       }
   }


   func onPaymentResult(_ result: PaymentResultObject) {
        if (result.status == "Success") {
            // Take further steps after Success of payment
            // ...
            // redirect to success screen
        } else{
            // Handle payment cancellation
        }
    }
}
PaymentResultObject model
| Field Name | Description |
|---|---|
| status | Provides the status of the payment. For more details, please refer to Verifying the payment status section. |
| transactionId | Provides BoxPay transaction id. Please note that transactionId will only be available if shopper clicks on Pay Now button on BoxPay checkout. In other words, it will NOT be available for NoAction status |
4. Verifying the payment status
Once you get the PaymentResultObject in your callback function, you can verify/handle the status as below:
| Status | Description |
|---|---|
| Success | Payment was received successfully. You can proceed to order fulfilment. It is equivalent to Approved status received in Operation Inquiry API response. |
| NoAction | Shopper didn’t attempt the payment at all. No transactionId will be received in this case. |
| RequiresAction | Shopper initiated the payment but didn’t complete the payment by entering the OTP, scanning QR code, approving collecting request etc. based on the chosen payment method. |
| Processing | Shopper completed the payment but PSP didn’t provide the approval confirmation. It may be due to additional risk checks or merchant account issues. You should not proceed to order fulfilment and rather wait for the terminal status(Approved or Failed/Rejected) via webhooks. It is equivalent to Posted status received in Operation Inquiry API response. |
| Failed | Shopper attempted the payment but it was failed. Shopper may have made multiple attempts as we prompt used for retries. You will be provided with latest transactionId. It is equivalent to Failed and Rejected status received in Operation Inquiry API response. |
| Expired | SDK session was expired as user was on SDK screens for longer than the session expiry. |
5. Getting the payment details using Operation Inquiry endpoint
If you need to get additional details, you can invoke BoxPay Operation Inquiry API from your server side component using the transactionId received in PaymentResultObject as you must NOT store the BoxPay API key in the iOS App.